Niagara-Based Supervisors
All the following operations have been performed on IQVision version 4.14.
Create a new device and get certificates
Open the Settings menu in the Diologi chatbot and select New device (refer to the Connect Your Device section for detailed instructions). You will then be prompted to download a security certificate for your device.
Keep this certificate in a secure place, or better yet, remove it after establishing the connection between Niagara and Diologi.
Upload the certificate to Niagara
-
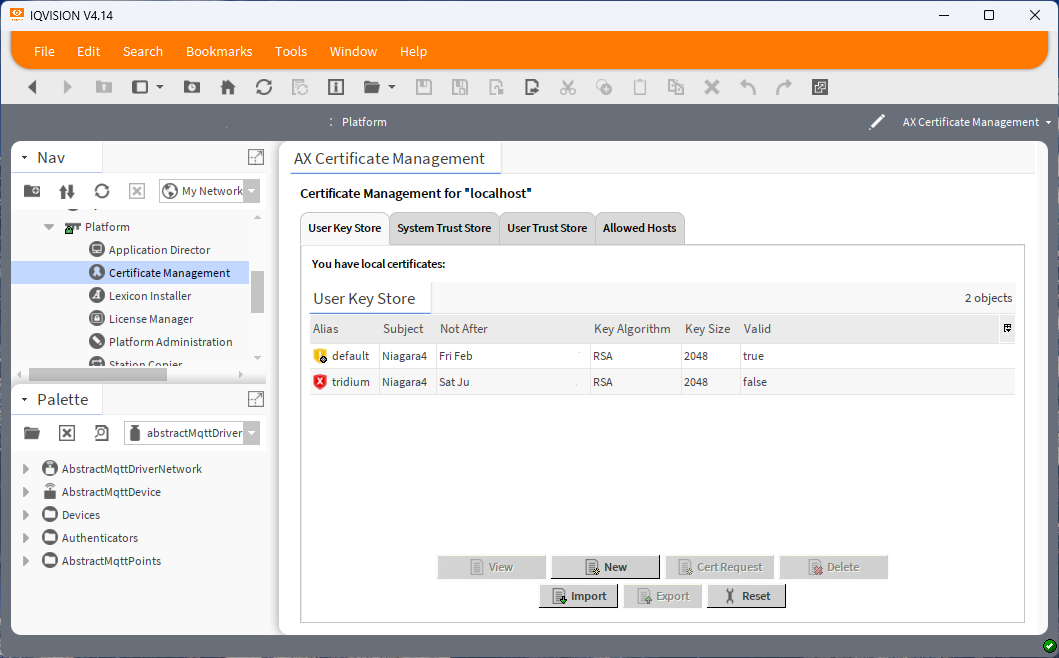
Open Platform in Niagara and double-click on Certificate Management.
-
Select the User Key Store tab and click Import.
-
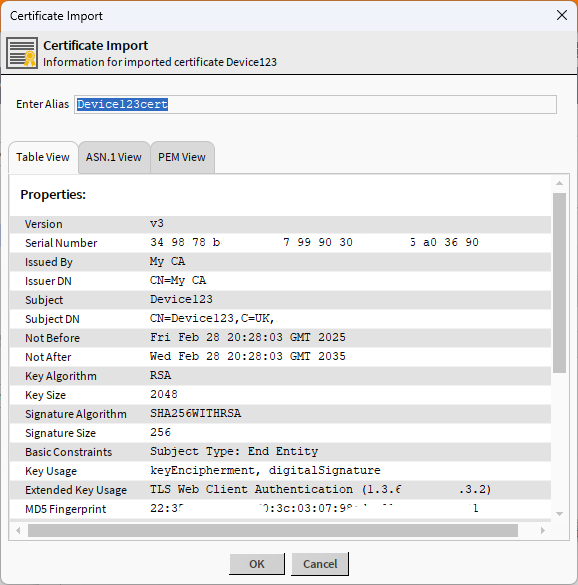
In the dialog window that opens, select the generated full-chain device certificate.

-
Enter an Alias for the certificate and an encryption password.
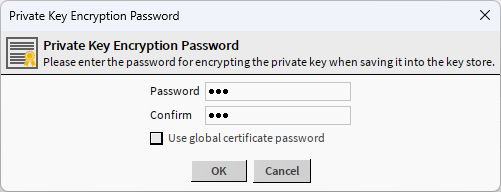 tip
tipSave the alias and remember the password. You will need them when setting up the MQTT driver configuration for the Station.
-
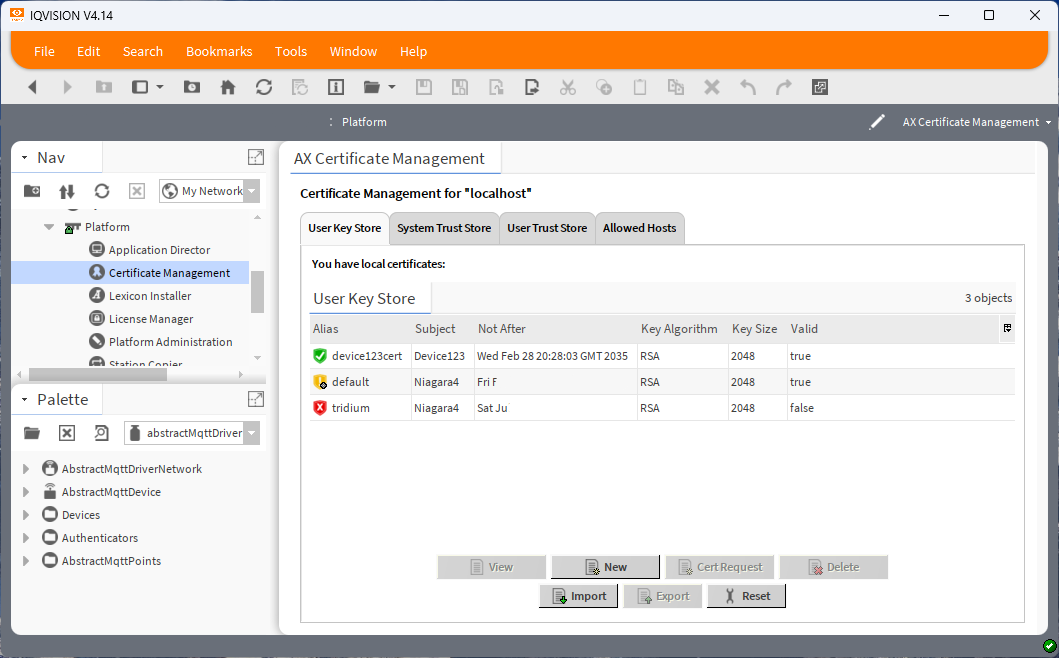
Make sure the certificate has been successfully imported: it should appear in the table of certificates and have a green tick next to its Alias.
Configure an MQTT Driver for communication
-
In the Nav sidebar, open Station -> Config -> Drivers.
-
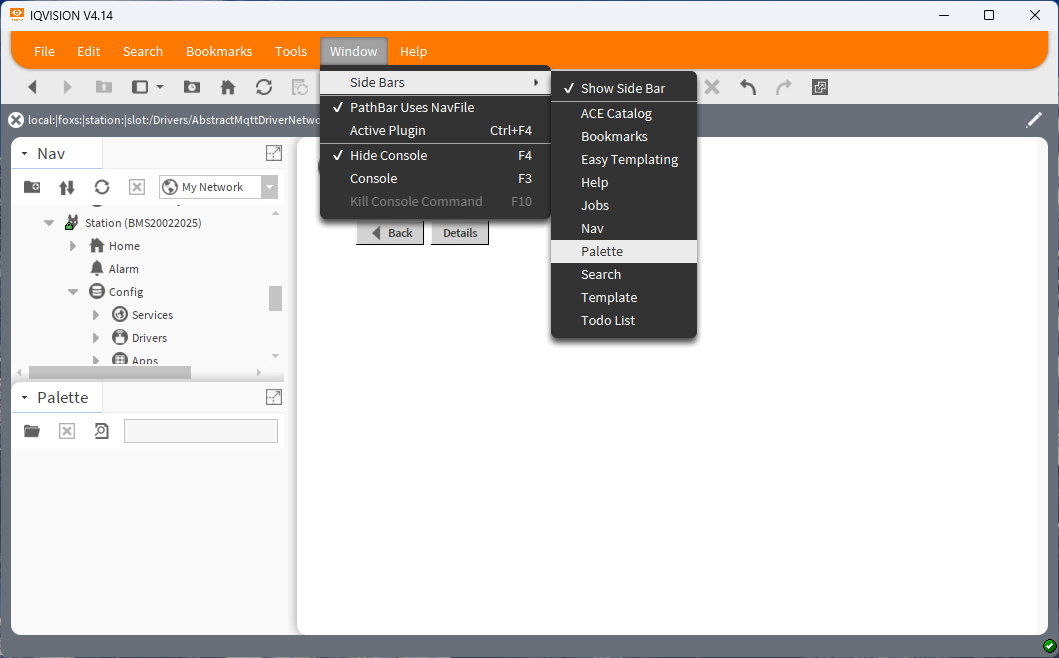
If the Palette sidebar is not visible, go to the Window menu, select Sidebars, and then choose Palette.
-
In the Palette, click the Open icon, find
abstractMQTTDriver, and click OK.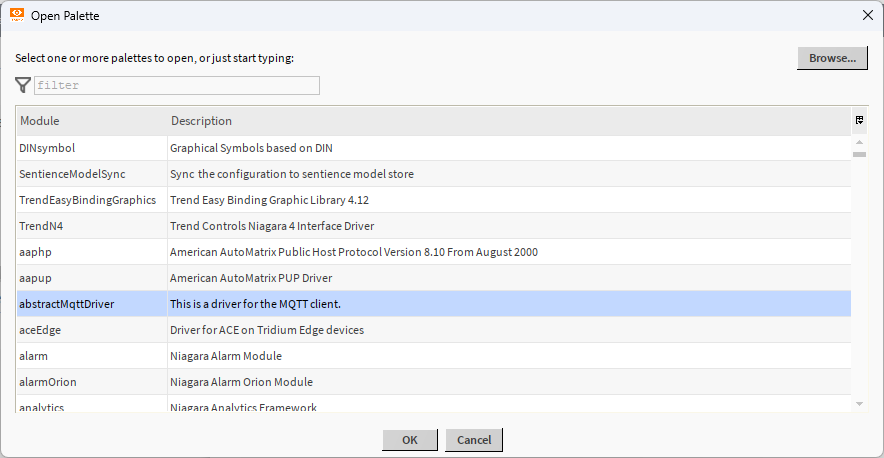
-
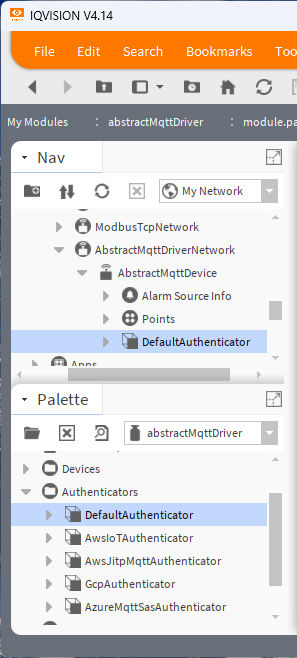
From the Palette, drag and drop
AbstractMqttDriverNetworkto the Drivers folder in the Nav tree. -
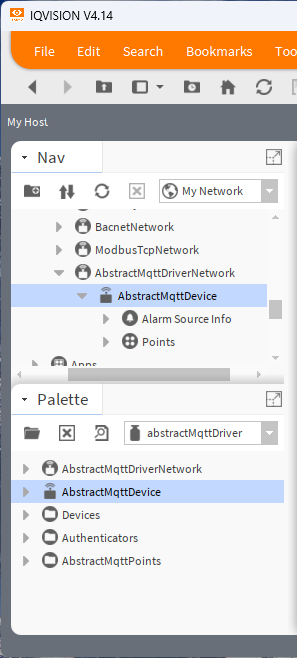
Similarly, drag and drop
AbstractMqttDevicefrom the Palette toAbstractMqttDriverNetwork. -
Then, drag and drop
DefaultAuthenticatorfrom the Palette toAbstractMqttDevice.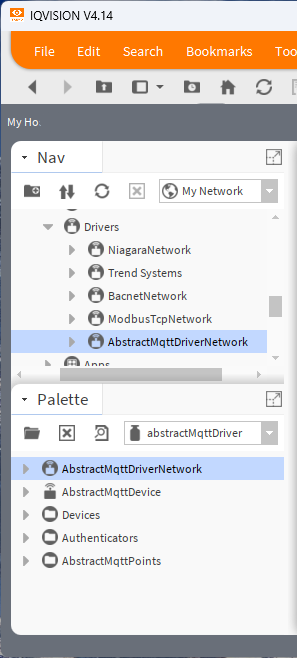
Set up Connection Settings
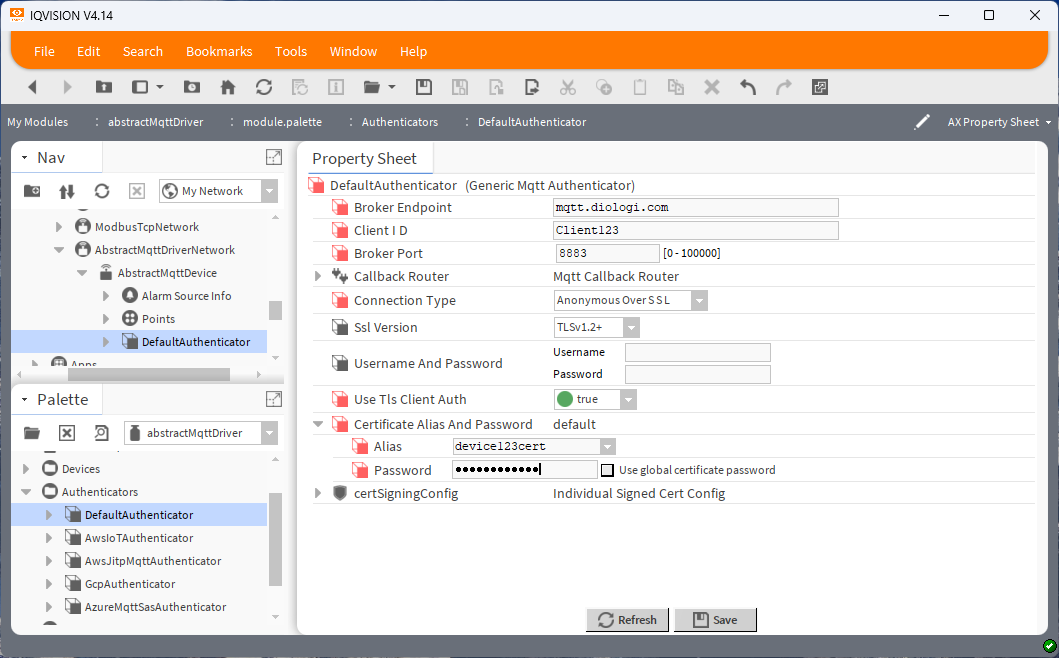
To configure the connection, open the properties of DefaultAuthenticator in the Nav sidebar and set the following:
- Broker Endpoint:
mqtt.diologi.com - Client ID: Enter your Device ID here. You can find the Device ID in the chatbot Settings selecting your device from the list.
- Broker Port:
8883 - Connection Type: Select
Anonymous Over SSL. - Use TLS Client Auth: Set to
True. - Certificate Alias and Password: Enter the Alias and password that were set when importing the certificate. The Alias can be found in Platform under the Upload the certificate to Niagara section.
Save the configuration.
If the password is lost, you will have to remove the certificate from the Certificate Manager and import it again with a new password.
To check that the connection with the Diologi server has been established, open the Property Sheet of AbstractMqttDevice. Ensure that Health Status shows Ok and Status Message shows Ping Success: Connected to Broker.
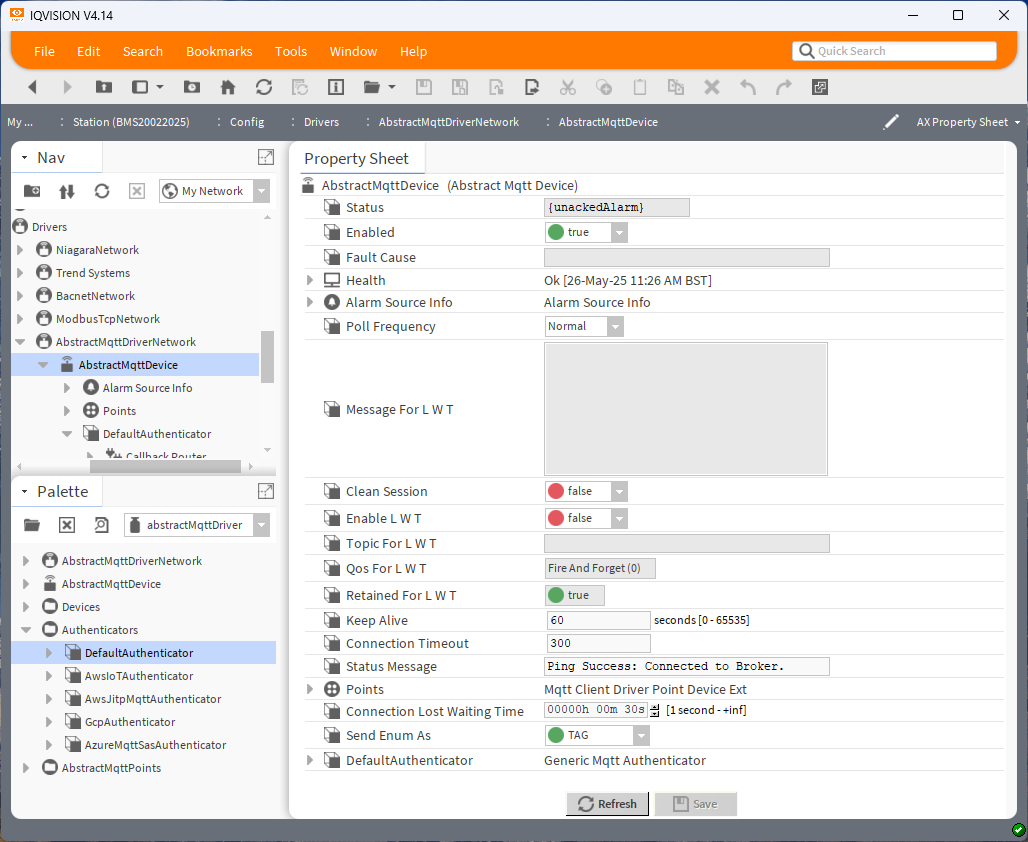
If the connection hasn’t been established automatically, right-click on AbstractMqttDevice, find Actions, and click Connect. After that, open Actions again and click Ping. This should force a connection request to the server.
Set up MQTT Points
-
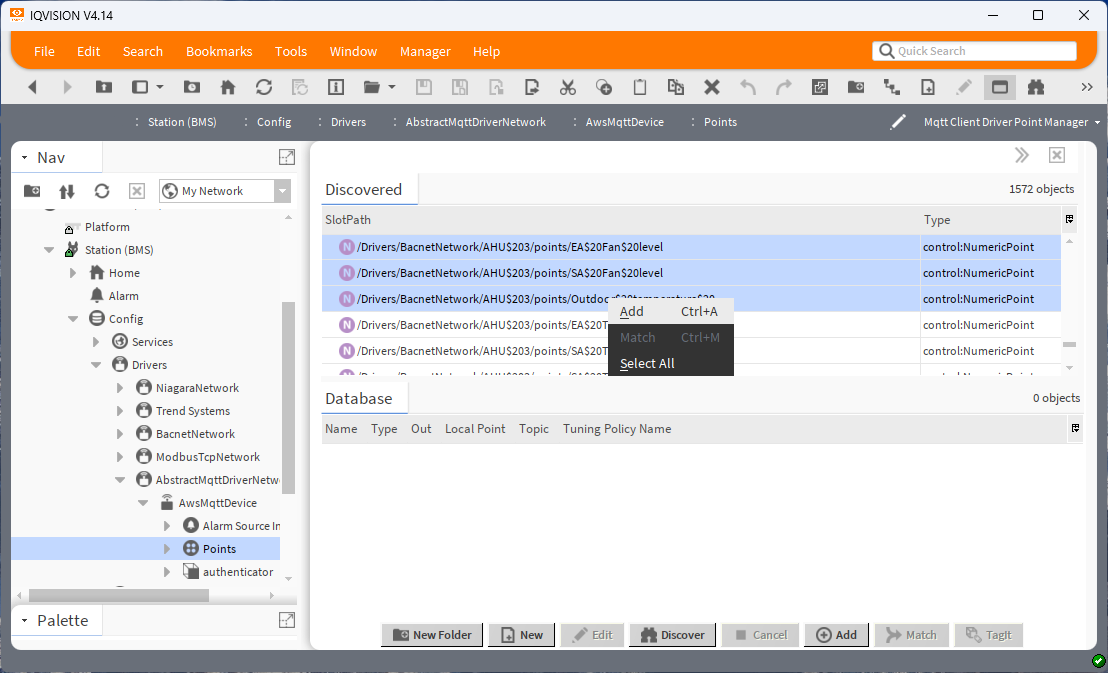
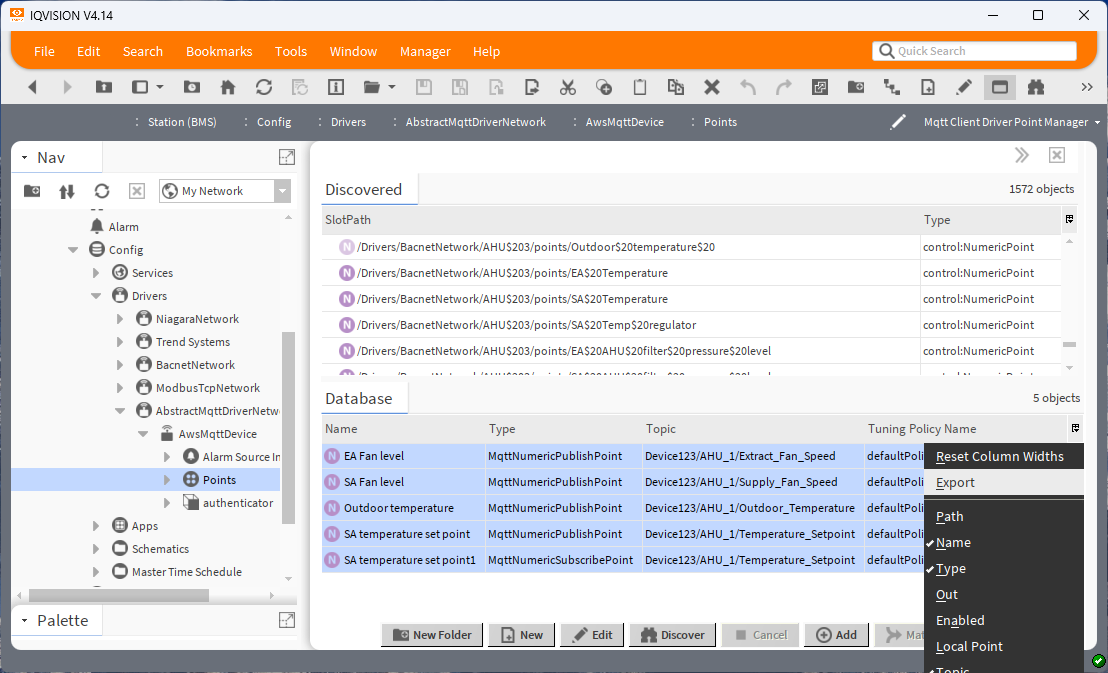
Open the Mqtt Client Driver Point Manager and click the Discover button.
-
Select the points that you want to make available for use in Diologi Chatbot and click ADD.
-
In the Add window that opens, select the Type:
- Publish: If you want to send data to Diologi chatbot for reading actual values.
- Subscribe: If you want to change a value from Diologi.
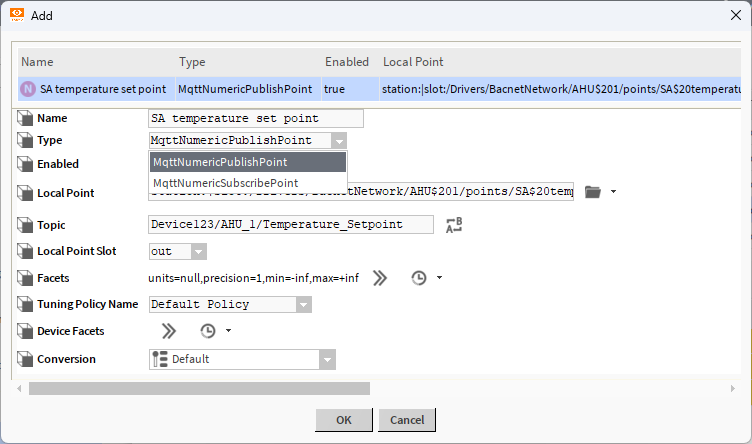 info
infoIf you want to read and change the value of the same point, you will have to add it twice: once as a Publish Point and once as a Subscribe Point. The Topics for both should be identical.
-
Set the Topic starting with the device ID.
MQTT topics on your field device must exactly match the topics defined in the Excel file, including the device ID at the beginning.
noteThe topic must not start or end with a slash (
/). The slash should only be used to separate topic segments.
Once you have added all the points needed to be accessible from the Diologi chatbot in the Database, the configuration of Niagara is complete.
The next step is to configure these points on the Chatbot side, where you can set allowed ranges for changeable points, define their location in the menu structure, and add keywords for the AI so it can understand the correct context for those points. You will find detailed guidance on this in the Set Up MQTT Communication section.
Export MQTT points for Diologi
If you have many points to set up in Diologi, you may find the export function from Niagara to CSV format useful.
- Select all the MQTT points on the Database tab in Niagara.
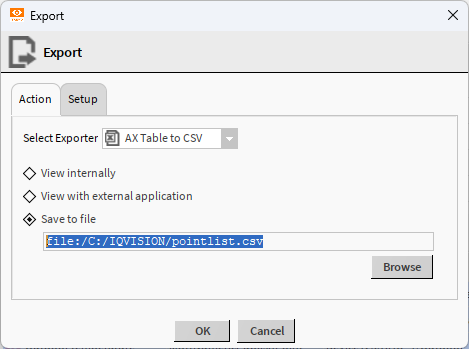
- Right-click and select Export from the context menu.
- In the export window that opens, set Select Explorer to
AX Table to CSVand choose Save to file.
-
Open the generated CSV file and copy-paste the topics to the Points Configuration Template in Excel for uploading to the Diologi chatbot.
